Nearly there! Configuring your page through the WordPress dashboard is the final step.
To set up your page with a new SIGN button:
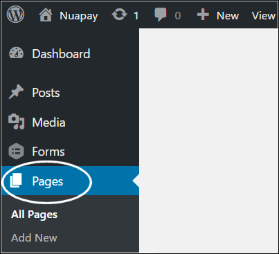
- Log on to your WordPress dashboard.
- Select Pages from the left-hand menu:
- Choose Edit to modify the page on which you want your payers to sign up for electronic mandates.
- Add the following lines to your page (replacing the example API code, scheme ID and IBAN below with your own):
- Your API key
- Scheme Type
- Payment Type
- Scheme ID
- Merchant IBAN
- Integration Type (either REDIRECT or OVERLAY) - REDIRECT opens the mandate sign-up screen in a new tab or window; OVERLAY renders the mandate signing screen on top of the calling page so your customers have a seamless experience.
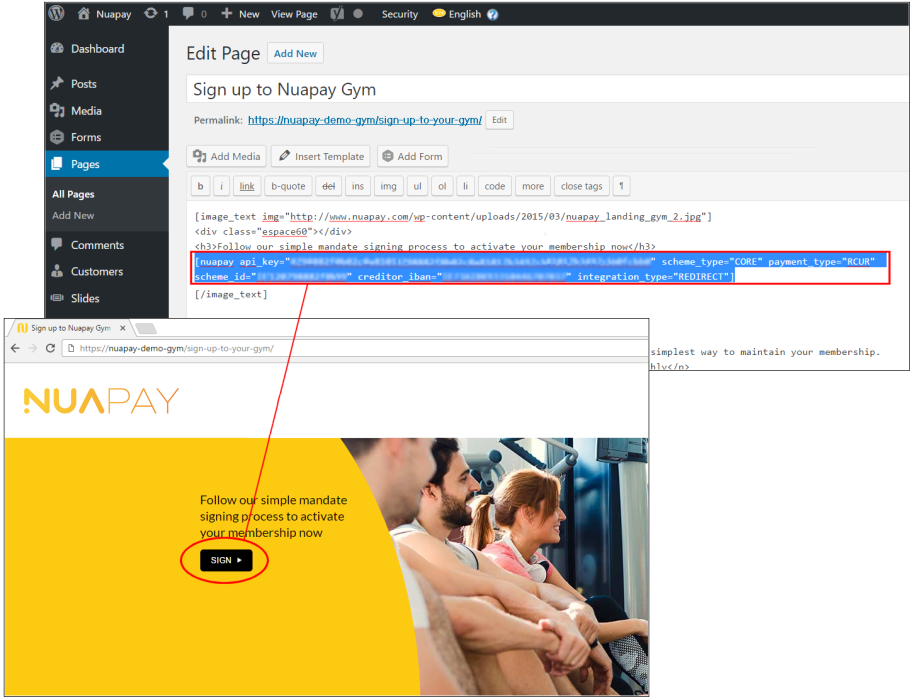
- Save your changes and reload your page. Assuming you have not made any errors in the lines above you should see a new button being rendered on your page. The example below shows how an integration to the imaginary Nuapay Gym might look (the page's source and the resultant Web page):
| [nuapay api_key="1TC1473798882f0b02c0a81017b3497cbb08d7813e1efffa7d495ffbeb0fctc0" scheme_type="CORE" payment_type="RCUR" scheme_id="IE26ZZZ123456123" creditor_iban="IE73AIBK12345446707123" integration_type="REDIRECT"] |
The code above includes the following details:
Please note do not use any wordpress server side caching plugins for pages containing the nuapay shortcode, each page load requests a new token from the Nuapay Servers.